Create Great Presentations: Haiku Deck
Welcome to the last blog post of the semester. It is incredible how time flies! This week, I have decided to review Haiku Deck.
 I was introduced to that tool in my Computer Application class. Haiku Deck is a tool similar to Power Point and Keynote. You can access it on the website (click here) or on the app for iPad (click here). There is an app for iPhone, but that app only allows you to view you the presentations you created. You cannot create or modify your presentations on your iPhone. Although I think it is probably coming up. When you click on the plus sign on the iPhone app, it says:
You will soon be able to create presentations on your iPhone! In the meanwhile, you can use the Internet website or the iPad app.
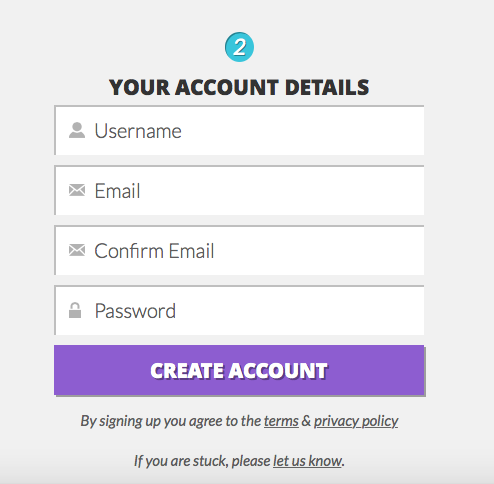
Like most of the tool I reviewed, it is free and super simple. To get started, you need to create an account. You need an email and a password or you can sign in with Facebook or Twitter account.
Haiku Deck is a tool that creates slide presentations. It can be any type of presentation: for teachers, students, business people, or anyone who wants to create a cool looking presentation.
Once you have logged in into your account, you have access to all your presentations. The first step is to click on one of the presentations, you can choose to edit, share or export that presentation. If you decide to share, you can do so through Facebook, Twitter, Pinterest, and Google+. You can also email it or copy the link. If you decide to export it, you can export the presentation as a PowerPoint or Keynote file and also as a PDF.
Let’s talk about what interest us the most, creating a presentation. You click on the plus sign in the middle at the bottom of the screen. Then, you need to give a title to your presentation. You now get to the creation page. On the left side, there are four icons of different colors. They are (from top to down): choose a format, set the background, select a layout, and add some notes.
You can choose different fonts and themes proposed by Haiku Deck. There are five free ones and many others that you have to pay for. From there, the creative process starts:
You can select the slide type that you want:

You can decide to add pictures. Haiku Deck already have a huge bank of good quality images. The tool also uses the words you have in your presentation to suggest different images to you, which is called an integrated Creative Commons image search by the Planeta e-Learning website. You can import your own pictures from your computer or iPad as well.

You can also add figures to your presentation. There are really easy to create:

You can also choose to have a plain color as background:

You can choose how you want your titles to appear in the slide:

Finally, you can add notes to your presentation:

You can also set the privacy settings. You can choose to have your presentation public, restricted or private. You can see all the other presentations that people have decided to leave public and people can see the presentations that you have left public.
Everything is incredibly easy! As the Macworld website writes, when you enter text, the tool adjusts the spacing and the size to create the best layout as possible. You do not have to spend hours trying to make everything fit perfectly. The Macworld website summarizes it as dummy-proof app and I agree with that statement.
As an ESL teacher, I think this is a great tool. You can create class presentations easily. One nice thing is that the presentation are created really fast. Students cannot spend hours changing the font or adding transitions and other features that they like to spend hours changing and trying. Teachers can present class instructions of new activities using Haiku Deck. They can also use it as visual aids for functional language or for new vocabulary, which I think is the best use for ESL teachers. Students can use it to present book report, research, explain pictures taken in a specific context, etc. It is possible to be creative with all the applications for students and teachers of Haiku Deck. It is an amazing tool if all students have access to an iPad, but teachers can still use it in the computer lab of the school. The students can work in teams and each access the presentation via the website. I recommend teachers to create a single account for all their students. All the presentations are kept at the same place and can easily be found by the teacher and the students. The Tutela website gives other applications of the tool, such as create short how-to guides, create ‘About me’ presentations, create and explains facts on a topic, and introduce grammar points. Moreover, the Edshelf website gives more example of applications of the tool which I thought were excellent: make a top 10 list, tell a story with words and pictures, share highlight from a trip or event, create a visual resume, illustrate an idea, and many more.
Every time you change the presentation, the tool automatically saves it. You do not have to worry about losing your presentation.
Haiku Deck is a simple tool because they limited the features available. I personally think that the features offered are enough for creating great presentation slides. The look of the presentations is really professional. As Scott Berkun writes on his website, the tool is made so you create better presentations. You cannot fill the slide with tones of text or bullets. You have to keep the slide simple and clean, which is what a slide presentation is supposed to be. The Planeta e-Leanring website points out a good argument: students have to know their material before presenting because they cannot just read the slides since there is a limited amount of text that a slide can have.
Overall, I was really impressed by Haiku Deck and I strongly recommend it!
Thanks for reading all my blog posts through the semester! Let me know in the comment section which tool you preferred or other tools that would be interesting for next year.


